Handmade candles are more than just sources of light; they are expressions of creativity and personal touch that can transform any space. Making candles at home is a delightful and rewarding DIY project that allows for endless customization. This article will provide you with step-by-step instructions to create your very own handmade candles.
Why Make Handmade Candles?
Creating candles at home offers a plethora of benefits. It’s an opportunity to craft personalized gifts, design custom decor, and even explore aromatherapy by using essential oils. Moreover, it’s a soothing, therapeutic activity that can be enjoyed alone or with friends and family.
Materials You’ll Need
- Wax (soy, beeswax, or paraffin)
- Wicks
- Candle containers (jars, tins, etc.)
- Double boiler or melting pot
- Thermometer
- Fragrance oils or essential oils (optional)
- Color dyes (optional)
- Wick holders or chopsticks
Steps to Make Handmade Candles
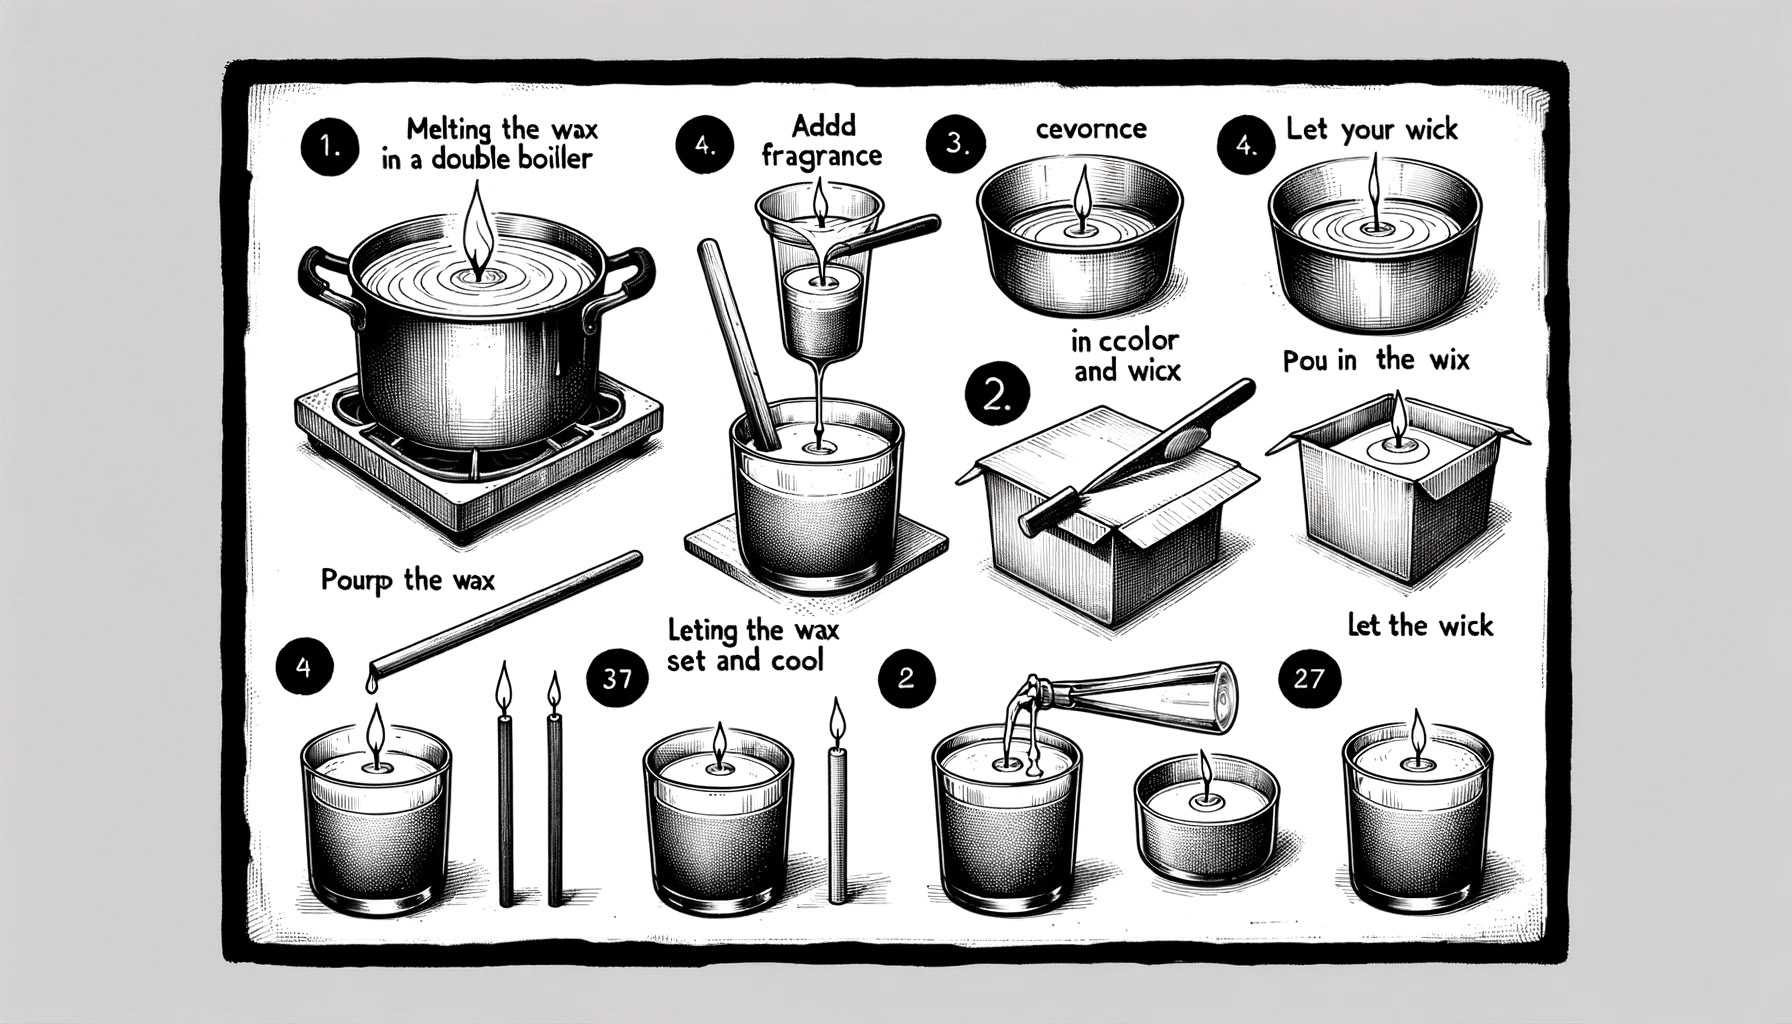
Making Handmade Candles involve Preparing the Wax, Melting the Wax, Adding Fragrance and Color, Preparing the Container, Pouring the Wax, Letting the Candle Set, Trimming the Wick, Curing the Candle
Step 1: Preparing the Wax
Choose your wax type based on your preference. Soy wax is eco-friendly and burns cleanly, while beeswax offers a natural, honey-like fragrance. Paraffin wax is a traditional choice known for its excellent scent throw.
Step 2: Melting the Wax
Using a double boiler, melt the wax. Keep an eye on the temperature using a thermometer; typically, wax should be melted between 160-180 degrees Fahrenheit.
Step 3: Adding Fragrance and Color
Once melted, you can add fragrance oils or essential oils for scent. For colored candles, stir in candle dye. Be cautious with the amount – a little often goes a long way.
Step 4: Preparing the Container
While the wax is melting, prepare your container. Fix the wick in the center using a wick holder or by sandwiching it between chopsticks placed atop the container.
Step 5: Pouring the Wax
Once the wax is melted and scented, pour it into the container, leaving a little space at the top. Keep the wick centered and straight.
Step 6: Letting the Candle Set
Allow the candle to cool and set for several hours. Avoid moving the candle during this time to ensure it sets evenly.
Step 7: Trimming the Wick
Once set, trim the wick to about half an inch above the wax. This helps the candle burn more efficiently.
Step 8: Curing the Candle
For the best fragrance throw, let your candle cure for a few days before burning.
Safety Tips
Always monitor the melting wax, and never leave it unattended. Work in a well-ventilated area and keep flammable materials away from your workspace.
Conclusion
Handmade candles bring a warm, personal touch to any space and making them can be a relaxing and fulfilling hobby. Whether for personal use or as thoughtful gifts, these candles are sure to light up smiles. These candles can be used to illuminate houses, hotel rooms or any other place.