Making homemade soap is an enriching and enjoyable craft that combines creativity with practicality. It’s a journey into the world of natural skincare, where you have full control over the ingredients, allowing you to create personalized, skin-friendly products. This guide provides a step-by-step approach to making your own soap at home, from selecting materials to the final product. Whether you’re a beginner or an experienced DIY enthusiast, homemade soap making offers the satisfaction of crafting something useful, beautiful, and uniquely yours.
Materials and Tools Needed for Making Homemade Soap
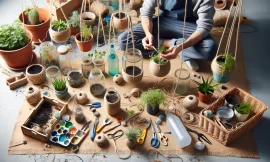
The process begins with gathering the necessary materials and tools. Here’s what you need to get started:
- Soap base: Options include glycerin and shea butter, both of which are excellent for sensitive skin.
- Molds: Silicone molds are preferred for their flexibility and ease of use.
- Fragrance oils or essential oils: These add a personalized scent to your soap.
- Natural colorants: Choose from clays, herbs, or spices to add color.
- Microwave or double boiler: Needed for melting the soap base.
- Mixing bowls and spoons: For combining ingredients.
- Thermometer (optional): Helps in monitoring the soap mixture’s temperature.
- Alcohol spray bottle (optional): Useful for removing air bubbles from the poured soap.
Choosing Your Soap Base
The foundation of homemade soap making is the soap base. Melt-and-pour bases are the most accessible starting point, offering a simple yet versatile way to create custom soaps. They eliminate the need for handling lye, making the process safer and more straightforward.
Melting the Soap Base
Begin by cutting your chosen soap base into small chunks to ensure even melting. Use a microwave or double boiler to melt the chunks gently. It’s crucial to avoid overheating; the base should be just melted, maintaining a smooth consistency.
Adding Fragrances and Colorants
This step is where your soap begins to take on its unique character. Add your chosen fragrances or essential oils to the melted base. For color, natural colorants offer a range of possibilities—turmeric for a vibrant yellow, beetroot powder for a deep red, or activated charcoal for a striking black.
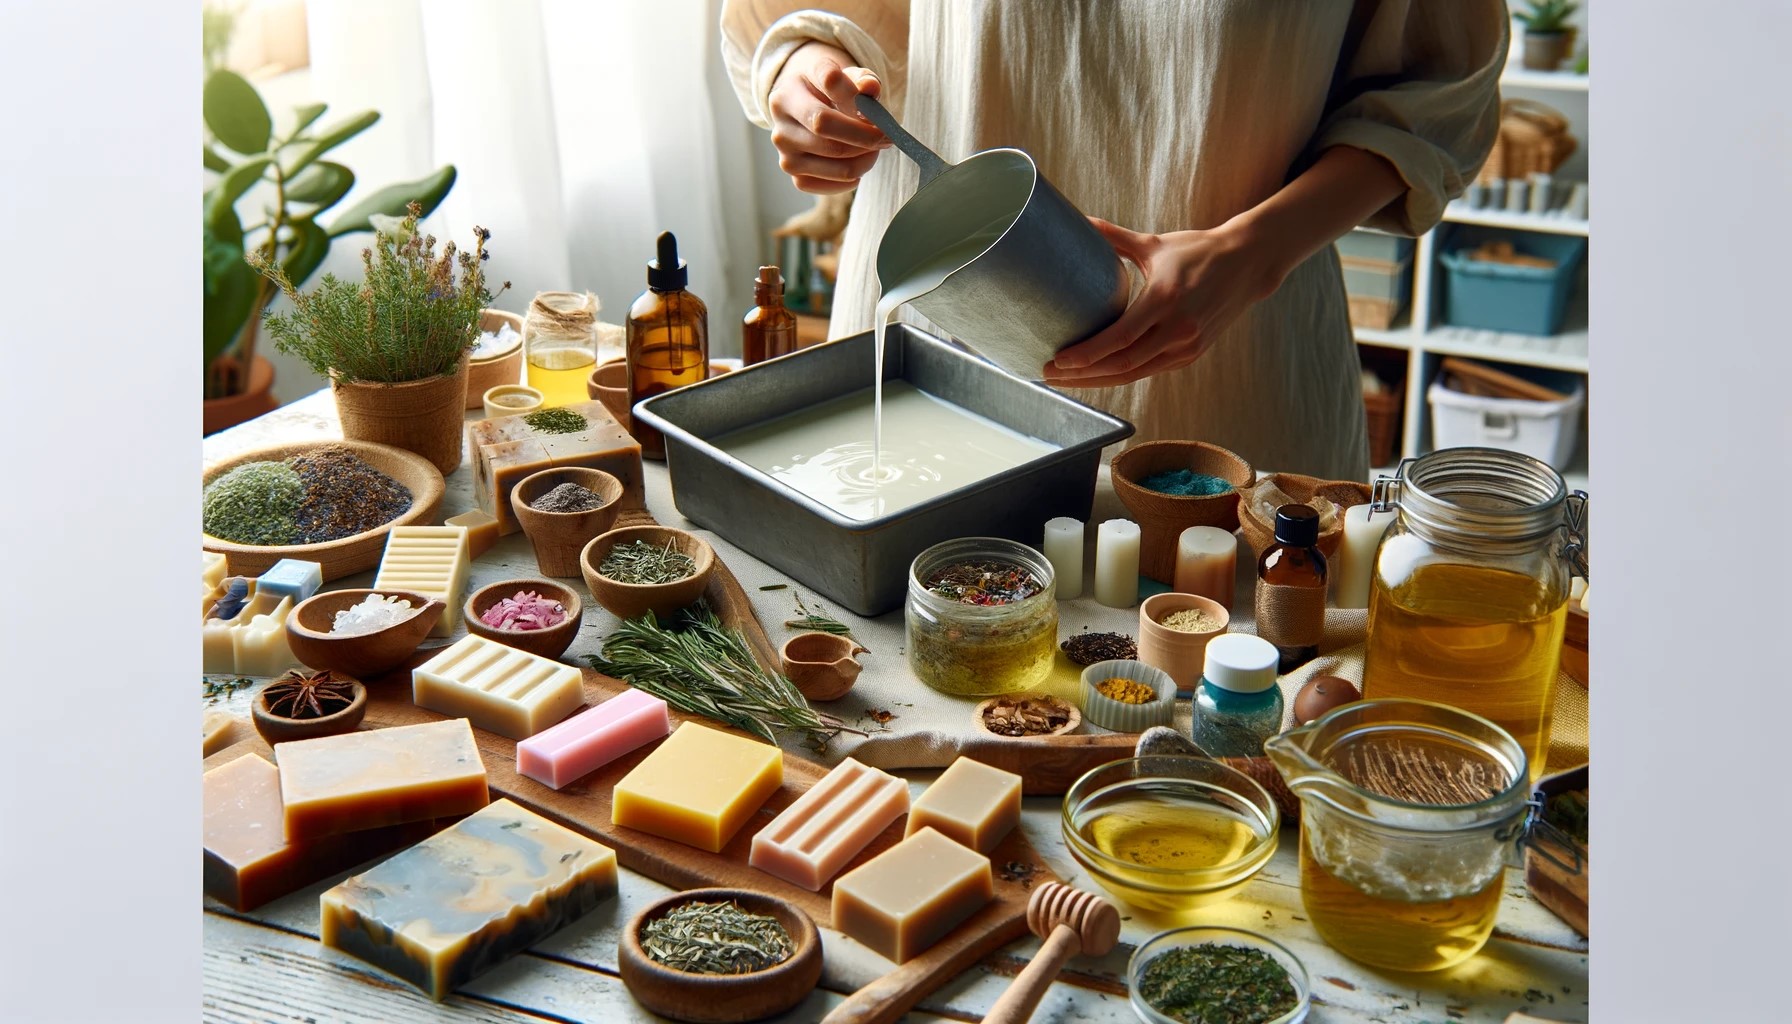
Pouring the Soap
Carefully pour the melted mixture into your molds. Gently tap the molds on a hard surface to release any trapped air bubbles, ensuring a smooth finish.
Customizing Your Soap
The beauty of homemade soap is in the customization. Additives like oatmeal can provide exfoliation, honey can offer additional moisture, and dried herbs can introduce texture and visual appeal.
Curing the Soap
Allow the soap to cool and harden, which may take a few hours or overnight, depending on the size and thickness of the bars. Once set, gently remove the soap from the molds, revealing your handcrafted creation.
Benefits of Homemade Soap
- Skin-friendly: By controlling the ingredients, you can avoid harsh chemicals and irritants, making homemade soap ideal for sensitive skin.
- Natural: Free from synthetic fragrances and colors, homemade soap is a healthier choice for both your skin and the environment.
- Eco-friendly: Handmade soap reduces waste and avoids the plastic packaging common with commercial soaps.
Safety Tips
For those venturing into making soap from scratch, which involves lye, adhere to strict safety guidelines. Lye is caustic and requires careful handling, including the use of gloves and goggles for protection.
Making homemade soap is not just about crafting a product; it’s about the experience. It’s an opportunity to engage with the ingredients, understand their properties, and appreciate the process of creation. Whether for personal use, gifts, or even a step towards a more sustainable lifestyle, homemade soap making is a rewarding endeavor.