Unlock your creativity and embark on a journey of craftsmanship with DIY bookbinding. Whether you’re crafting a journal to record your thoughts, a sketchbook to unleash your artistic talents, or a personalized diary to capture life’s moments, bookbinding offers a unique opportunity to create a custom book that is both functional and beautiful. Here’s your comprehensive guide to mastering the art of DIY bookbinding:
Materials You’ll Need
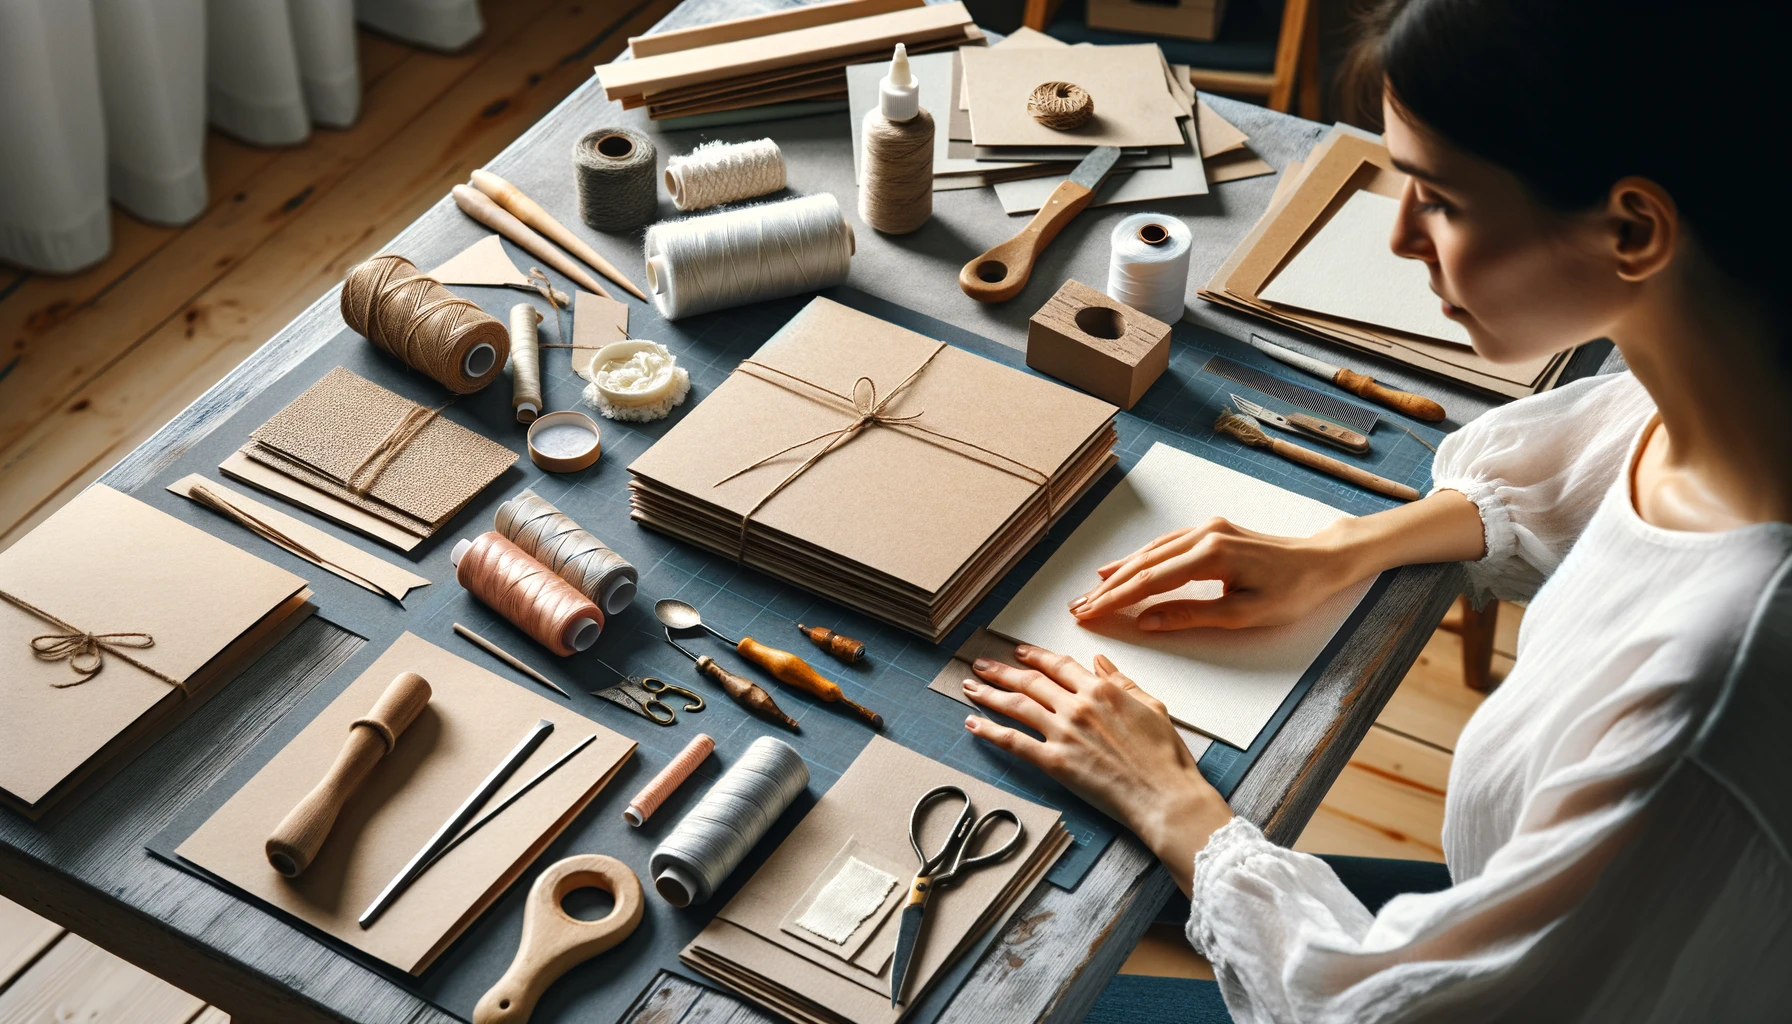
Gather the following materials to get started:
- Paper: Choose high-quality paper for the pages of your book. Consider factors such as weight, texture, and color to suit your preferences.
- Cardboard or thick paper: Select sturdy material for the cover to provide support and protection for your book.
- Linen thread or waxed thread: Use durable thread for sewing the pages together and attaching the cover.
- Needle: Opt for a sturdy needle with a sharp point for piercing holes in the paper.
- Glue: Use a strong adhesive to secure the pages to the cover and ensure durability.
- Ruler and pencil: Essential tools for measuring and marking the dimensions of your book.
- Bone folder or spoon: Use these tools to crease the paper and create crisp folds.
- Scissors or craft knife: For cutting paper and cardboard to size.
Choosing Your Paper and Cover
Select paper that suits the intended purpose and aesthetic of your book. Consider factors such as texture, weight, and color. Choose cardboard or thick paper for the cover, ensuring it provides adequate support and protection for the pages.
Folding and Cutting the Pages
Fold your paper in half to create the desired size for your book. Group the folded sheets into small stacks, known as signatures. Trim the edges of the signatures if necessary to create uniformity and neatness.
Preparing the Cover
Cut your cover material slightly larger than the pages to allow for overlap. Decorate the cover using paints, fabrics, stamps, or other materials to personalize your book and make it uniquely yours.
Sewing the Signatures
Pierce holes along the fold of each signature using a needle or awl. Thread a needle with linen or waxed thread and sew the signatures together along these holes using a simple binding stitch.
Attaching the Cover
Apply glue to the spine of the signatures and carefully adhere them to the inside of the cover. Press firmly and allow the glue to dry completely to ensure a secure bond between the pages and the cover.
Finishing Touches
Add any additional decorations or embellishments to the cover to enhance its aesthetic appeal. Place the book under a weight or press for a day to ensure it sets well and the pages lie flat.
DIY bookbinding offers a rewarding and creative outlet for expressing yourself and preserving memories. Whether you’re a seasoned crafter or a novice enthusiast, creating handmade books allows you to imbue each page with a personal touch and craft a cherished keepsake that will be treasured for years to come.