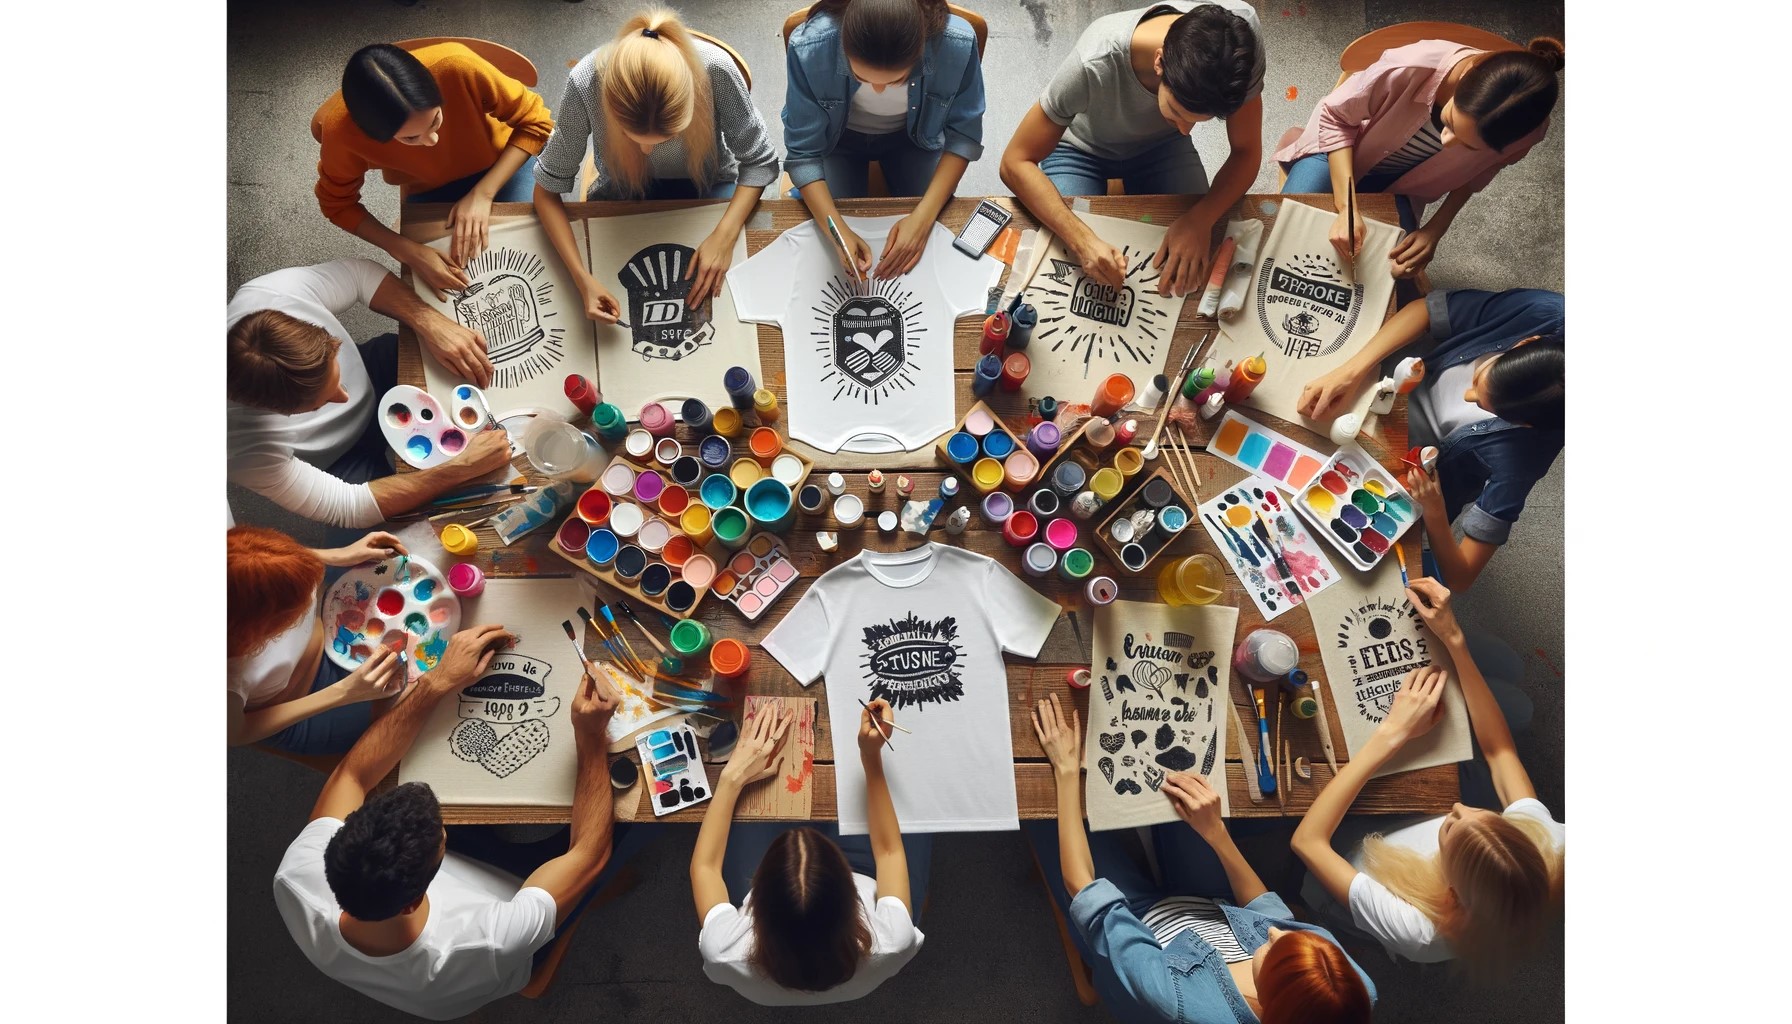
Customizing a t-shirt is a fun and creative way to express your personal style, make a statement, or create unique gifts. With a few simple tools and a bit of imagination, you can transform a plain t-shirt into a piece of art. This guide will provide you with some easy methods to craft your own customized t-shirts at home.
Materials You’ll Need
- Plain t-shirts
- Fabric paints or fabric markers
- Stencils (optional)
- Iron-on transfers (optional)
- Brushes or sponges
- Cardboard or a shirt board
- Iron
Method 1: Freehand Painting
- Place cardboard inside the shirt to prevent paint from bleeding through.
- Sketch your design on the shirt with a pencil or use fabric markers for a freehand approach.
- Paint your design using fabric paints. Brushes are great for detail, while sponges can be used for a more abstract effect.
Method 2: Using Stencils
- Create or buy stencils of your desired designs.
- Position the stencil on the shirt and use fabric paint to fill it in.
- Carefully remove the stencil and let the paint dry.
Method 3: Iron-on Transfers
- Design your graphic on a computer and print it onto iron-on transfer paper.
- Place the transfer paper face down on the shirt.
- Use an iron to press and transfer the image onto the shirt according to the paper instructions.
Customization Ideas
- Add personal touches like hand-sewn patches, buttons, or beads.
- Experiment with tie-dye or batik techniques for a vibrant effect.
- Use glow-in-the-dark or glitter fabric paints for a unique look.
Caring for Your Customized T-Shirts
- Turn the shirt inside out before washing.
- Use a gentle cycle and cold water to preserve the colors and design.
- Avoid harsh detergents and tumble drying.
Creating your own customized t-shirts is a fantastic way to unleash your creativity. Whether you’re making a shirt for a special occasion, as a gift, or just for fun, the possibilities are endless.


