Embarking on a painting project to revitalize a room is an exciting endeavor, promising a fresh perspective and renewed energy within your living space. Whether you’re looking to infuse a bedroom with tranquility, breathe life into a tired living room, or bring warmth to a kitchen, the application of a well-chosen coat of paint can work wonders. Yet, as with any DIY task, success lies in the details—from selecting the right materials to mastering essential techniques and applying finishing touches that elevate the final result. In this comprehensive guide, we’ll explore the art of painting a room, offering invaluable tips, techniques, and transformative touches to help you achieve professional-quality results and create a space you’ll love to call home.
Materials You’ll Need
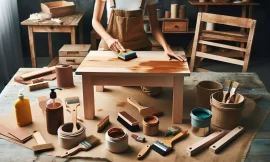
Before diving into your painting project, gather the essential materials:
- Paint: Choose a high-quality paint in the desired color and finish, considering factors like lighting and room function.
- Primer: Apply primer if necessary to ensure optimal paint adhesion and a smooth finish.
- Paint rollers and brushes: Invest in quality tools for precise application and even coverage.
- Paint tray: Use a sturdy tray to hold and distribute the paint effectively.
- Drop cloths or plastic sheeting: Protect floors, furniture, and fixtures from accidental spills and splatters.
- Painter’s tape: Achieve crisp lines and protect trim, baseboards, and other surfaces from paint smudges.
- Sandpaper: Smooth any rough spots or imperfections on the walls before painting.
- Ladder: Ensure safe and easy access to all areas of the room.
- Rags or old towels: Keep them handy for cleaning up spills and drips.
Choosing Your Paint
Selecting the perfect paint sets the tone for your room transformation:
- Color: Choose a color that complements your decor, reflects your personal style, and evokes the desired ambiance.
- Finish: Consider the finish options—such as matte, eggshell, satin, semi-gloss, or high-gloss—and their suitability for different rooms and surfaces.
Preparing the Room
Proper preparation is essential for achieving professional results:
- Furniture: Clear the room of furniture or move it to the center and cover it with drop cloths or plastic sheeting to protect it from paint splatters.
- Surface Preparation: Clean the walls thoroughly to remove dust, dirt, and grease. Use sandpaper to smooth out any imperfections and ensure a flawless finish.
- Tape Off Areas: Apply painter’s tape to edges, trim, baseboards, and other surfaces you want to protect from paint. This step ensures clean lines and professional-looking results.
Applying Primer
Priming the walls is key to achieving a flawless finish and optimal paint adhesion:
- Necessity: Apply primer if you’re painting over a dark color, patchy walls, or porous surfaces. Primer helps to seal the surface, prevent stains from bleeding through, and ensure a consistent paint finish.
- Application: Use a high-quality primer and apply it evenly with a brush or roller. Allow the primer to dry completely before applying paint.
Painting Techniques
Mastering essential painting techniques is crucial for achieving professional-quality results:
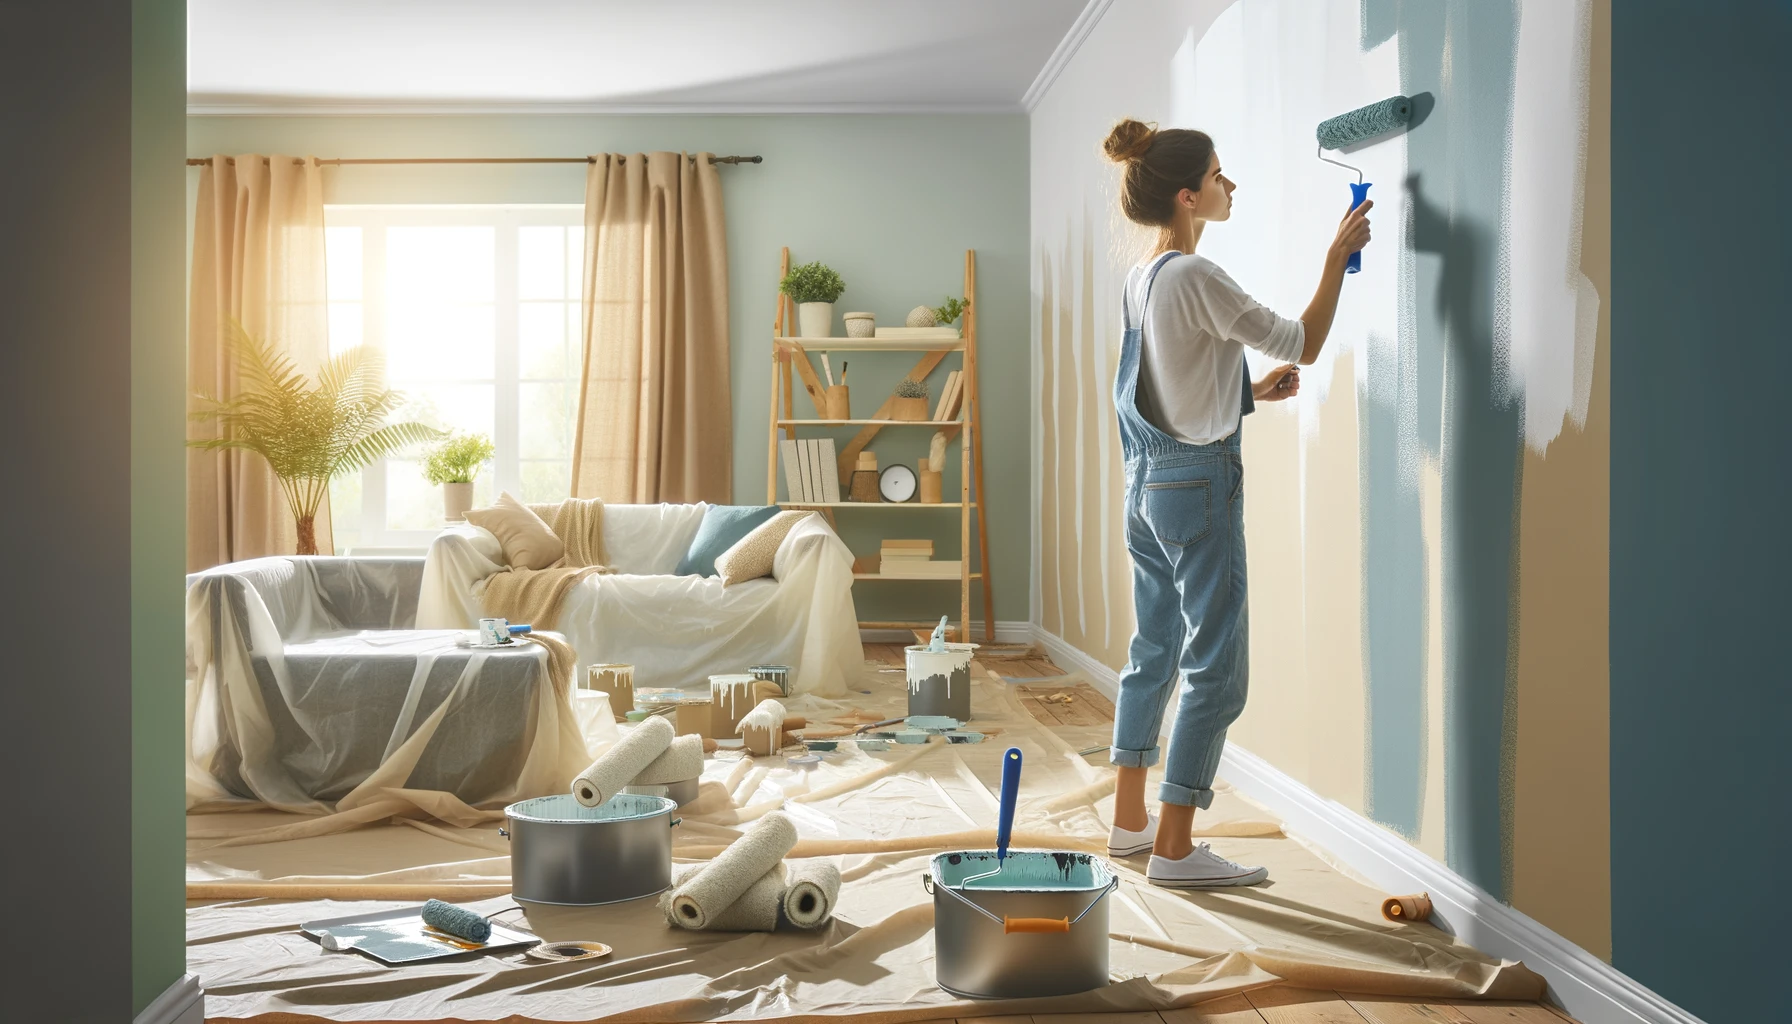
- Cutting In: Start by cutting in around trim, corners, and edges with a brush. This technique creates clean lines and prevents paint from bleeding onto adjacent surfaces.
- Rolling: Use a roller to paint larger wall areas, working in small sections and applying paint in a W or M pattern for even coverage. Be sure to overlap each stroke slightly to avoid streaks or roller marks.
- Multiple Coats: Apply multiple coats of paint as needed, allowing each coat to dry completely before applying the next. This ensures uniform color coverage and a rich, vibrant finish.
Finishing Touches
Attention to detail during the finishing touches elevates the overall look of your painted room:
- Removing Painter’s Tape: Once the paint is dry, carefully remove the painter’s tape to reveal crisp, clean lines. Pull the tape away at a 45-degree angle to avoid peeling off fresh paint.
- Touch-Ups: Inspect the walls for any missed spots, drips, or imperfections, and touch them up with a brush or roller as needed. This step ensures a flawless finish and professional-quality results.
Cleaning Up
Proper cleanup is essential for maintaining your painting tools and keeping your space tidy:
- Brushes and Rollers: Clean brushes and rollers thoroughly with soap and water or according to the paint manufacturer’s instructions. Remove any excess paint and allow the brushes and rollers to dry completely before storing them.
- Disposal: Dispose of leftover paint, primer, and other materials responsibly, following local regulations and guidelines.
Conclusion
Painting a room is a rewarding DIY project that allows you to transform your living space and express your personal style. By following these tips, techniques, and transformative touches, you can achieve professional-quality results and create a room that reflects your unique vision and enhances your home’s ambiance. So, gather your materials, roll up your sleeves, and embark on your painting journey with confidence—your dream room awaits!