Embracing renewable energy through the installation of a home solar power system is not only a savvy financial investment but also a powerful step towards a more sustainable future. While professional installation is common, a basic DIY solar installation is feasible with some electrical knowledge and careful planning. Here’s a comprehensive guide to help you navigate the process of installing a basic home solar power system.
Materials You’ll Need
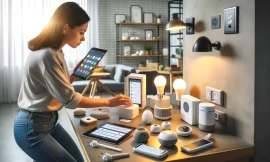
Before you embark on your solar journey, gather the following materials:
- Solar panels: Select panels based on your energy needs and available space.
- Mounting brackets and hardware: Ensure sturdy and secure mounting for your panels.
- Solar inverter: Converts solar power into usable electricity for your home.
- Charge controller: Essential for systems with batteries, regulating the charge to prevent overcharging.
- Deep cycle batteries: If you opt for energy storage, choose batteries designed for solar applications.
- Wiring and connectors: High-quality wiring and connectors to safely and efficiently connect your components.
- Tools: Drill, wrenches, screwdrivers, and any other tools necessary for installation.
- Safety gear: Gloves, safety glasses, and other protective gear to ensure safety during installation.
Planning Your System
Begin by assessing your energy needs and determining the size of the system required to meet them. Choose a location for your solar panels that receives maximum sunlight exposure, such as a roof or open ground area. Consider factors such as shading, orientation, and tilt angle to optimize solar panel performance.
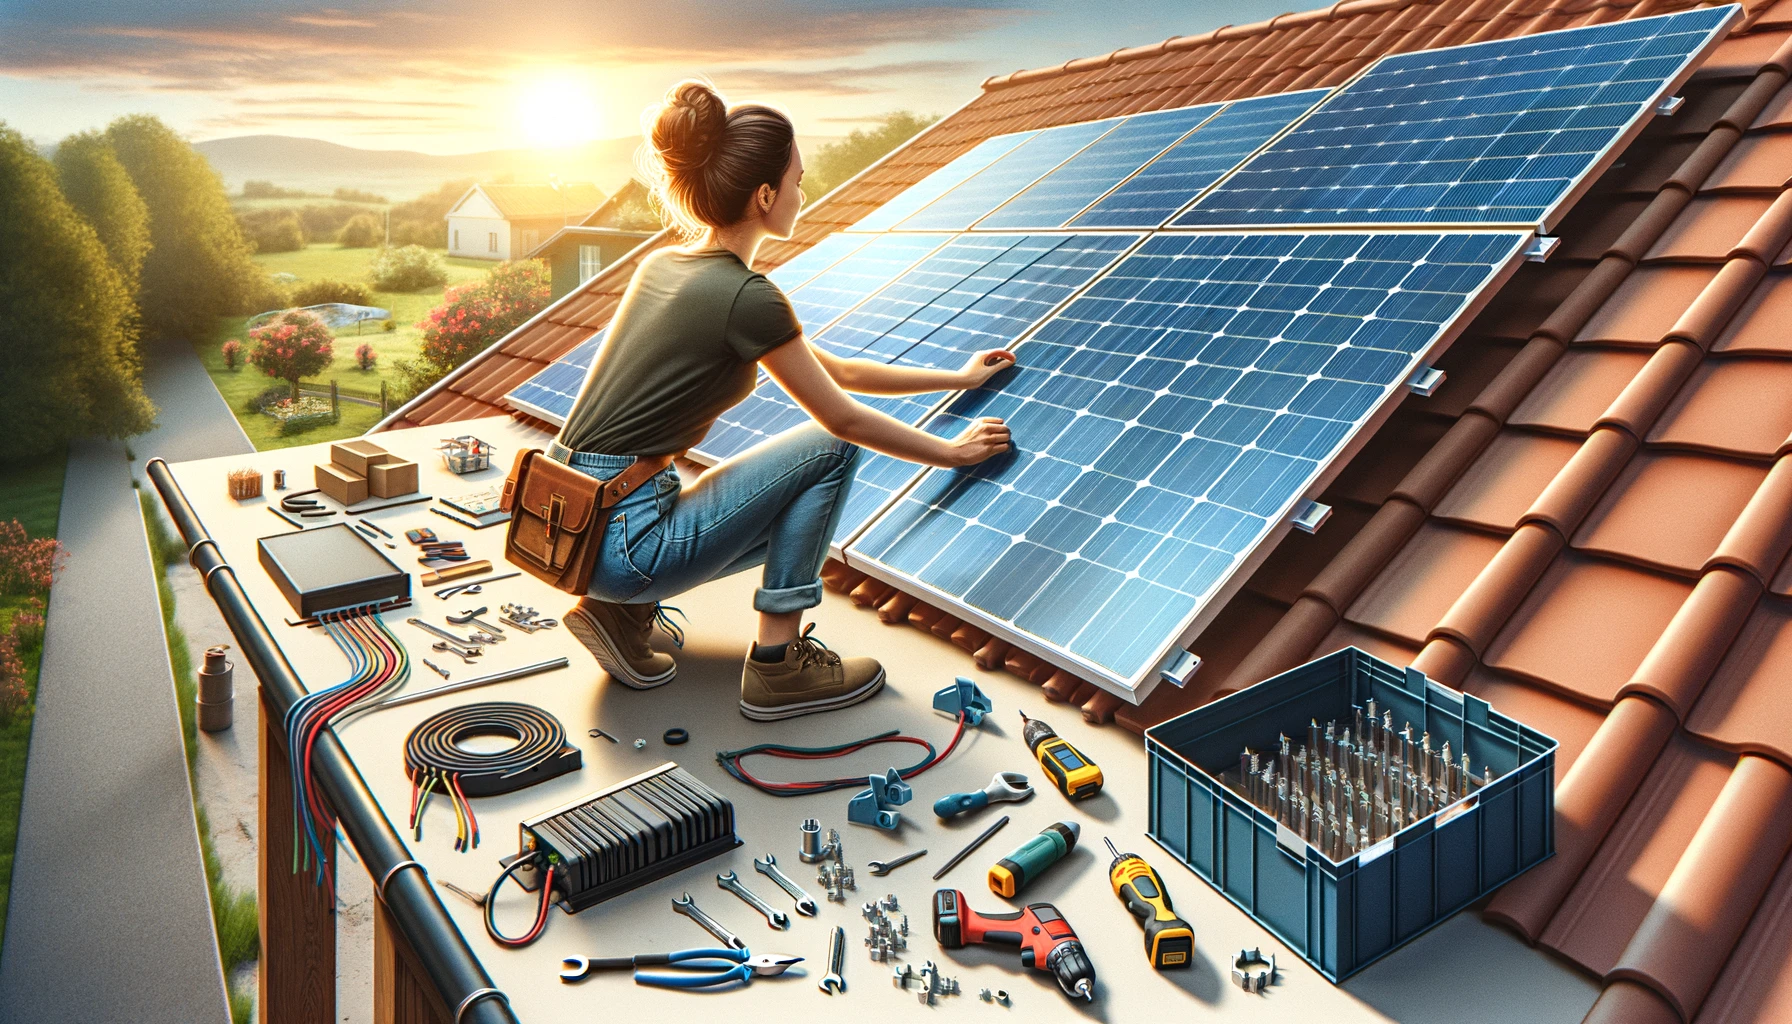
Mounting the Solar Panels
Install mounting brackets securely at your chosen location, ensuring proper alignment and spacing. Carefully attach solar panels to the brackets, ensuring they are stable and positioned for optimal sun exposure.
Installing the Inverter and Charge Controller
Mount the solar inverter in a well-ventilated area near your electrical panel. Connect the inverter to your home’s electrical system, following manufacturer instructions and local electrical codes. If using batteries, install the charge controller and connect it to the batteries to regulate charging.
Wiring the System
Carefully route and connect wiring from the solar panels to the inverter and charge controller, ensuring proper sizing and connections. Use appropriate wiring and connectors, and ensure all connections are secure and weatherproof.
Setting Up Batteries (If Used)
If incorporating battery storage, connect deep cycle batteries to the charge controller, following manufacturer guidelines. Ensure batteries are safely housed in a well-ventilated area and properly secured.
Connecting to Your Home’s Electrical System
Connect the inverter to your home’s electrical panel, following local regulations and safety guidelines. This step may require the assistance of a professional electrician to ensure safe and compliant installation.
Safety and Maintenance
Regularly inspect your solar power system for any signs of damage or wear. Clean solar panels periodically to maintain optimal performance, especially in dusty or debris-prone areas. By following these steps and exercising caution throughout the installation process, you can successfully set up a basic home solar power system. Embrace the power of the sun, reduce your carbon footprint, and enjoy the benefits of clean, renewable energy right at home.