Building a simple bird feeder is not just a DIY project; it’s a doorway to a world of chirps, flutters, and feathered friends right in your own backyard. Not only does it provide nourishment for local birds, but it also offers an opportunity for you to immerse yourself in the wonders of birdwatching. Here’s a comprehensive guide on how to create a basic bird feeder that will attract a diverse array of avian visitors to your garden.
Materials You’ll Need
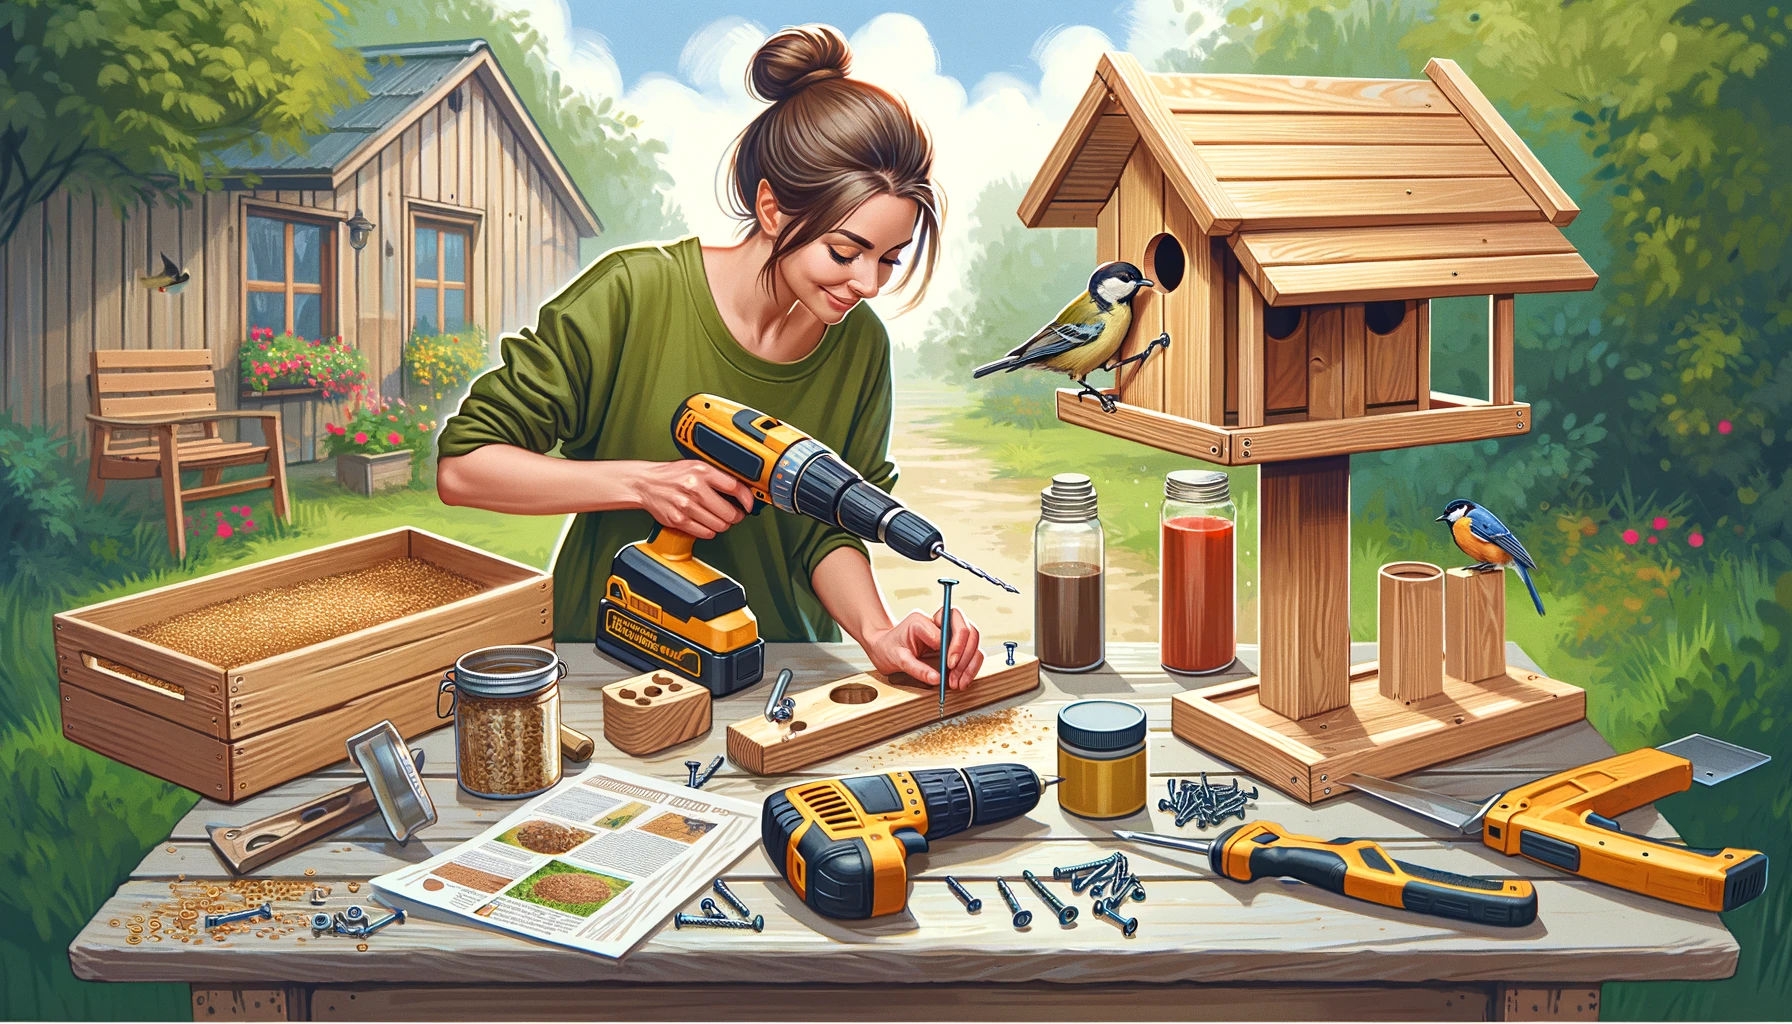
Before you dive into the construction process, gather the following materials:
- Untreated wood or a pre-made wooden box: Choose a sturdy material that can withstand outdoor conditions and is safe for birds.
- Screws or nails: For assembling the feeder securely.
- Drill: To create openings for screws, nails, and for drainage.
- Saw (if cutting wood): If you’re not using a pre-made box, a saw will be necessary to cut the wood to the desired dimensions.
- Sandpaper: To smooth any rough edges for both aesthetic and safety purposes.
- Paint or varnish (non-toxic, bird-safe): Optional, but recommended for weather protection and adding a splash of color to your feeder.
- Wire or rope for hanging: Choose a strong and durable material for hanging your feeder securely.
- Bird seed: Select a mix that appeals to a variety of bird species.
Designing Your Bird Feeder
Begin by envisioning the size and style of your feeder. For beginners, a simple box with open sides or a platform feeder is both effective and easy to construct.
Cutting the Wood
If you’re starting from scratch, use a saw to cut your wood to the desired dimensions for the base, sides, and roof of the feeder.
Assembling the Feeder
Once you have your pieces cut, assemble them using screws or nails. Begin with the base and sides, then attach the roof, ensuring that the feeder has openings for birds to access the seeds.
After assembly, use sandpaper to smooth any rough edges, making the feeder safe for birds. If desired, apply a coat of non-toxic, bird-safe paint or varnish for weather protection and aesthetic appeal.
Hanging Your Bird Feeder
Attach a wire or rope to the feeder to hang it from a tree, pole, or balcony. Make sure the hanging mechanism is stable and secure to prevent accidents.
Adding Bird Seed
Fill your feeder with bird seed, choosing a mix that attracts a variety of bird species to your garden.
Maintenance
Regularly clean and refill your bird feeder to keep it attractive to birds. Remove any old or moldy seed and clean the feeder with mild soap and water. Check for any damage and make repairs as needed to ensure the feeder remains functional and safe for birds.
Building a bird feeder is not only a fulfilling DIY project but also a meaningful way to connect with nature and contribute to wildlife conservation efforts. By following these steps and putting your creativity to work, you can create a welcoming oasis for birds in your own backyard, fostering a deeper appreciation for the beauty and diversity of the avian world.